Welcome to JD.AI
JD.AI is an AI-powered terminal assistant that brings intelligent code understanding, generation, and project management directly to your command line. Built on Microsoft Semantic Kernel, it connects to 15 AI providers — from cloud APIs to fully offline local models — and ships with a rich set of built-in developer tools.
This guide covers everything you need to use JD.AI day-to-day.
What you'll find here
| Article | What it covers |
|---|---|
| Installation | Prerequisites, installation methods, and your first run |
| Quickstart | A step-by-step walkthrough of a typical workflow |
| Provider Setup | Configuring each of the 15 supported AI providers |
| Local Models | Running GGUF models offline with LLamaSharp |
| Commands | Slash commands grouped by task with examples |
| Tools | Overview of the 17 built-in tool categories |
| Sessions & History | Saving, resuming, and exporting conversations |
| Checkpointing | Automatic project snapshots and safe rollback |
| Configuration | Project instructions, defaults, and environment variables |
| Common Workflows | Real-world task walkthroughs |
| Best Practices | Tips for getting consistent, high-quality results |
| Clipboard & Input | Paste detection, input history, and keyboard shortcuts |
| Troubleshooting | Common problems and how to fix them |
Who is this for?
This guide is written for developers who want to use JD.AI as a daily productivity tool. Whether you're exploring an unfamiliar codebase, fixing a bug, writing tests, or creating pull requests, JD.AI can help you move faster.
No prior experience with AI assistants is required. If you can use a terminal, you can use JD.AI.
You can use JD.AI with cloud providers like OpenAI and Anthropic, with self-hosted models via Ollama, or completely offline with local GGUF models — the choice is yours.
Quick start
Install JD.AI as a global .NET tool and launch it in your project:
dotnet tool install --global JD.AI
cd /path/to/your/project
jdai
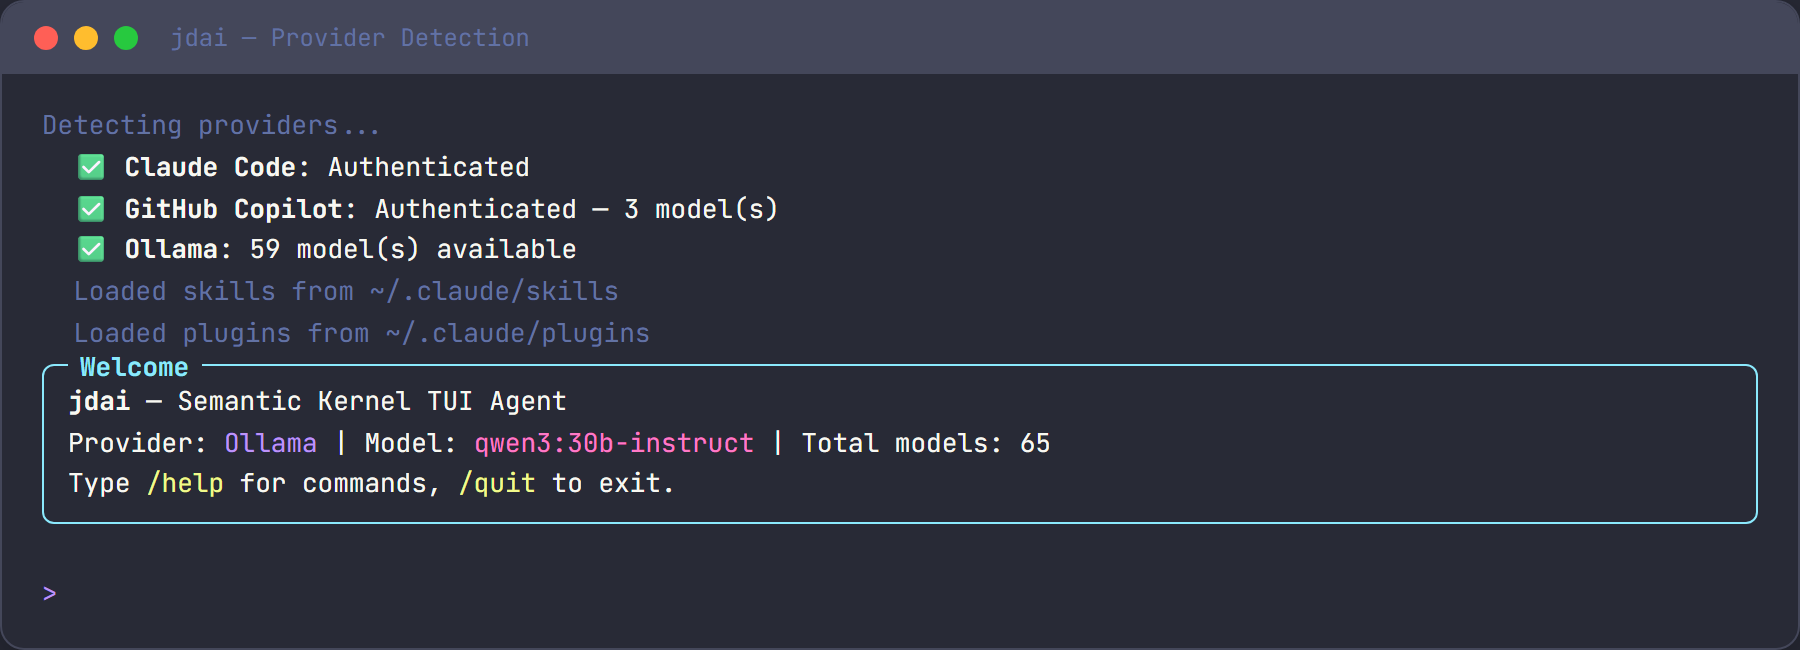
JD.AI detects available providers, selects the best model, and drops you into an interactive session. Ask questions, request code changes, run commands — all from the > prompt.
For the full walkthrough, see Quickstart.
Key capabilities
- 15 AI providers — Claude Code, GitHub Copilot, OpenAI Codex, Ollama, local GGUF models, OpenRouter, and more
- 17 tool categories — file I/O, search, shell, git, web, memory, subagents, and others
- 33+ slash commands — model switching, session management, workflows, diagnostics
- Session persistence — save and resume conversations across terminal sessions
- Project instructions — configure per-project behavior with a
JDAI.mdfile - Git checkpointing — automatic snapshots before destructive operations
How JD.AI works
When you type a message at the > prompt, JD.AI sends it to your configured AI provider along with conversation history and project context. The AI responds with text, tool calls, or both. Tool calls — like reading a file, running a test, or committing code — are executed locally on your machine after you confirm them.
This loop continues until the task is done. You stay in control: every file write, shell command, and git operation requires your approval unless you opt into auto-run mode.
Getting help
- Type
/helpat the prompt to see all available commands. - Run
/doctorto check system health and provider connectivity. - Run
/docsto browse documentation links from within JD.AI. - Check
/costto monitor token usage during a session. - File issues at github.com/JerrettDavis/JD.AI.
Next steps
Start with Installation if you haven't set up JD.AI yet, or jump to Quickstart if it's already installed.
For experienced users, the Common Workflows and Best Practices pages are the fastest path to getting the most out of JD.AI.
Happy coding!