Getting started
This section helps you get from a fresh clone to a first successful Cress run. Pick the path that matches your system under test.
Prerequisites
- Windows for the full Studio and Flawright-backed desktop experience
- .NET SDK
10.0.107or later - Node.js
22.xfor the Node workspaces and Playwright-backed browser tooling
Choose the right onboarding path
| Path | Use it when | Outcome |
|---|---|---|
| Fastest first run | you want the quickest proof that Cress can validate and execute a real flow | pack the CLI as a local tool and run the built-in HTTP sample without a full solution build |
| HTTP quickstart | you want the fastest end-to-end success with no browser or desktop dependency | validate, run, and publish a living doc from the sample project |
| Web quickstart | you need browser automation with Studio or Studio Web | create a project, configure a profile, record or author a browser flow |
| Desktop quickstart | you need Windows desktop automation with Flawright | enable the desktop driver, record a desktop flow, and review evidence |
Recommended first-session flow
- Run the Fastest first run path if you want the quickest evaluation loop.
- Run the HTTP quickstart so you can see the project layout and report outputs.
- Open Studio or Studio Web to learn the authoring surfaces.
- Move to the web or desktop quickstart for your real system.
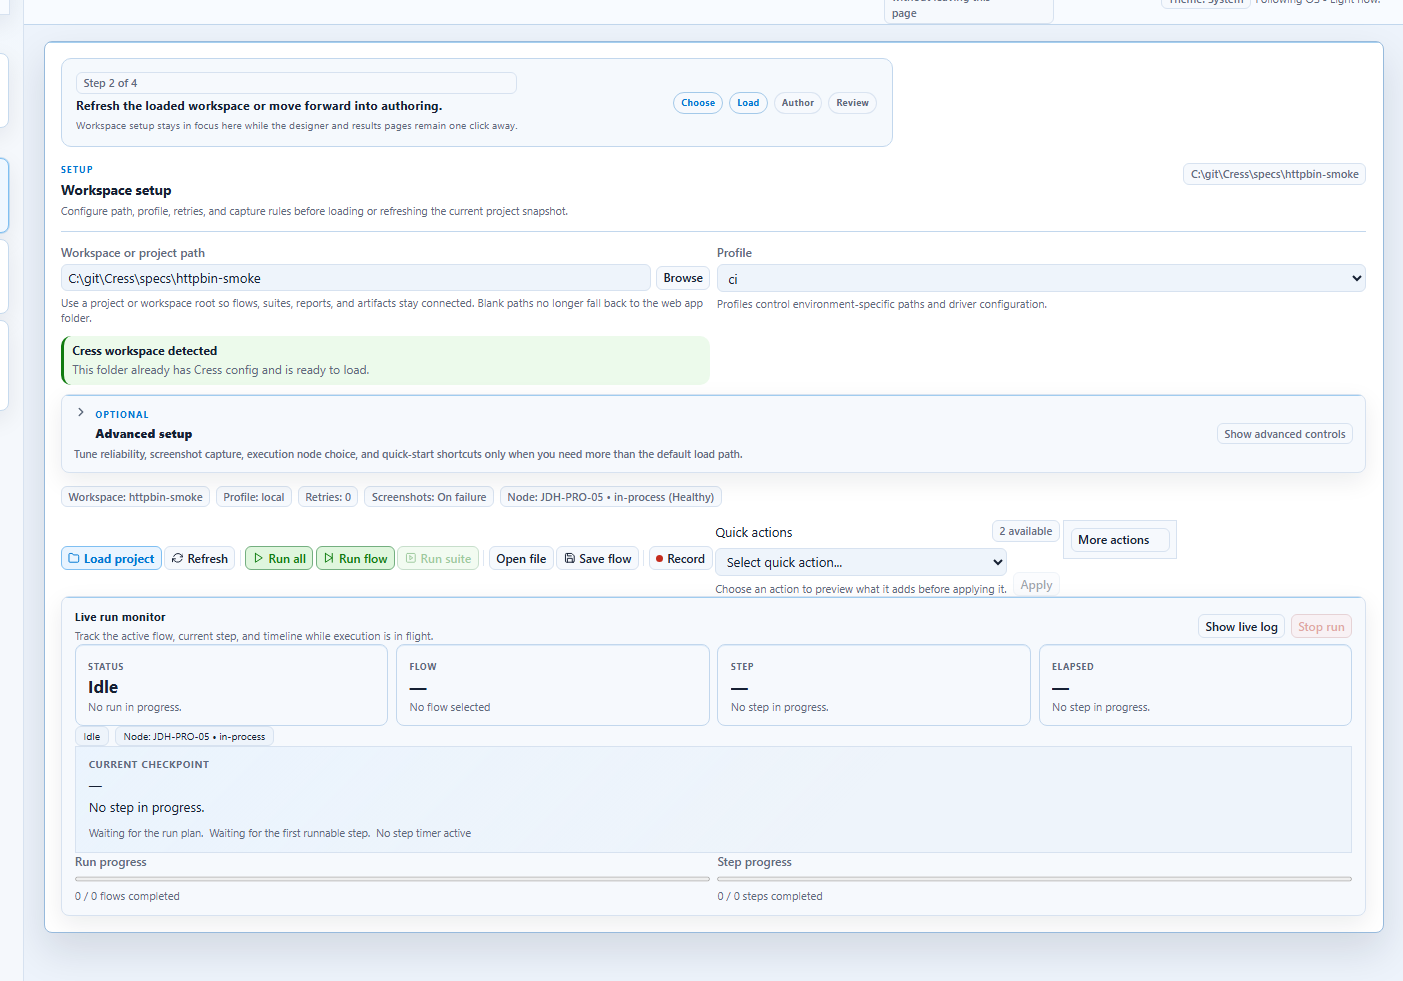
Core commands you will use first
dotnet tool restore
dotnet restore Cress.sln
dotnet build Cress.sln --configuration Release
dotnet run --project src\Cress.Cli\Cress.Cli.csproj -- --help
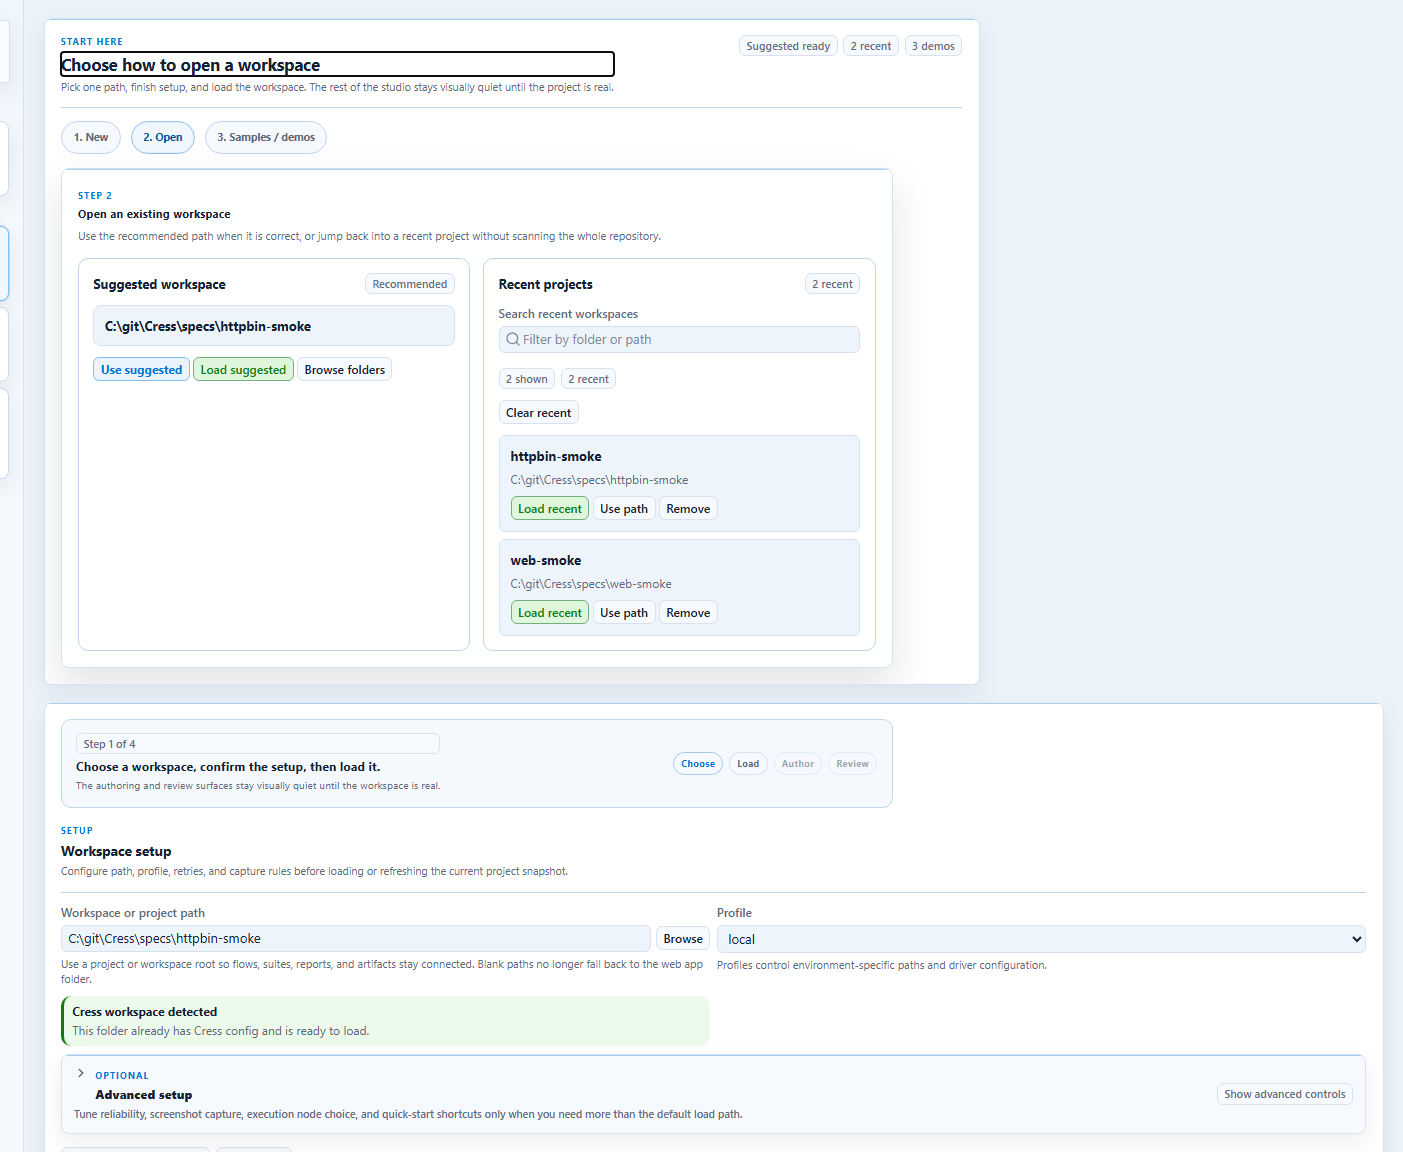
What “first success” looks like
After the onboarding flow you should be able to:
- identify a Cress project root
- understand the
.cress,capabilities,flows,fixtures, andstepsfolders - validate a project before running it
- inspect generated artifacts, reports, and living docs