Web quickstart
This path shows how a team moves from a blank project to a browser flow that can be run locally and later promoted into CI.
1. Create a project
dotnet run --project src\Cress.Cli\Cress.Cli.csproj -- init demos\web-shop
The initializer creates:
.cress\config.yaml.cress\profiles\local.yaml.cress\profiles\ci.yamlcapabilities\flows\fixtures\steps\artifacts\runs\reports\
2. Enable the right runtime drivers
For a web project, the usual starting point is:
drivers:
  playwright:
    enabled: true
  http:
    enabled: true
  flawright:
    enabled: false
Keep browser and HTTP support together when the flow needs both UI actions and direct service assertions.
3. Configure the local profile
Set the target system base URL and any environment variables you need:
profile: local
baseUrl: http://localhost:3000
timeouts:
  step: 30000
  expectation: 10000
evidence:
  mode: standard
variables:
  environment: local
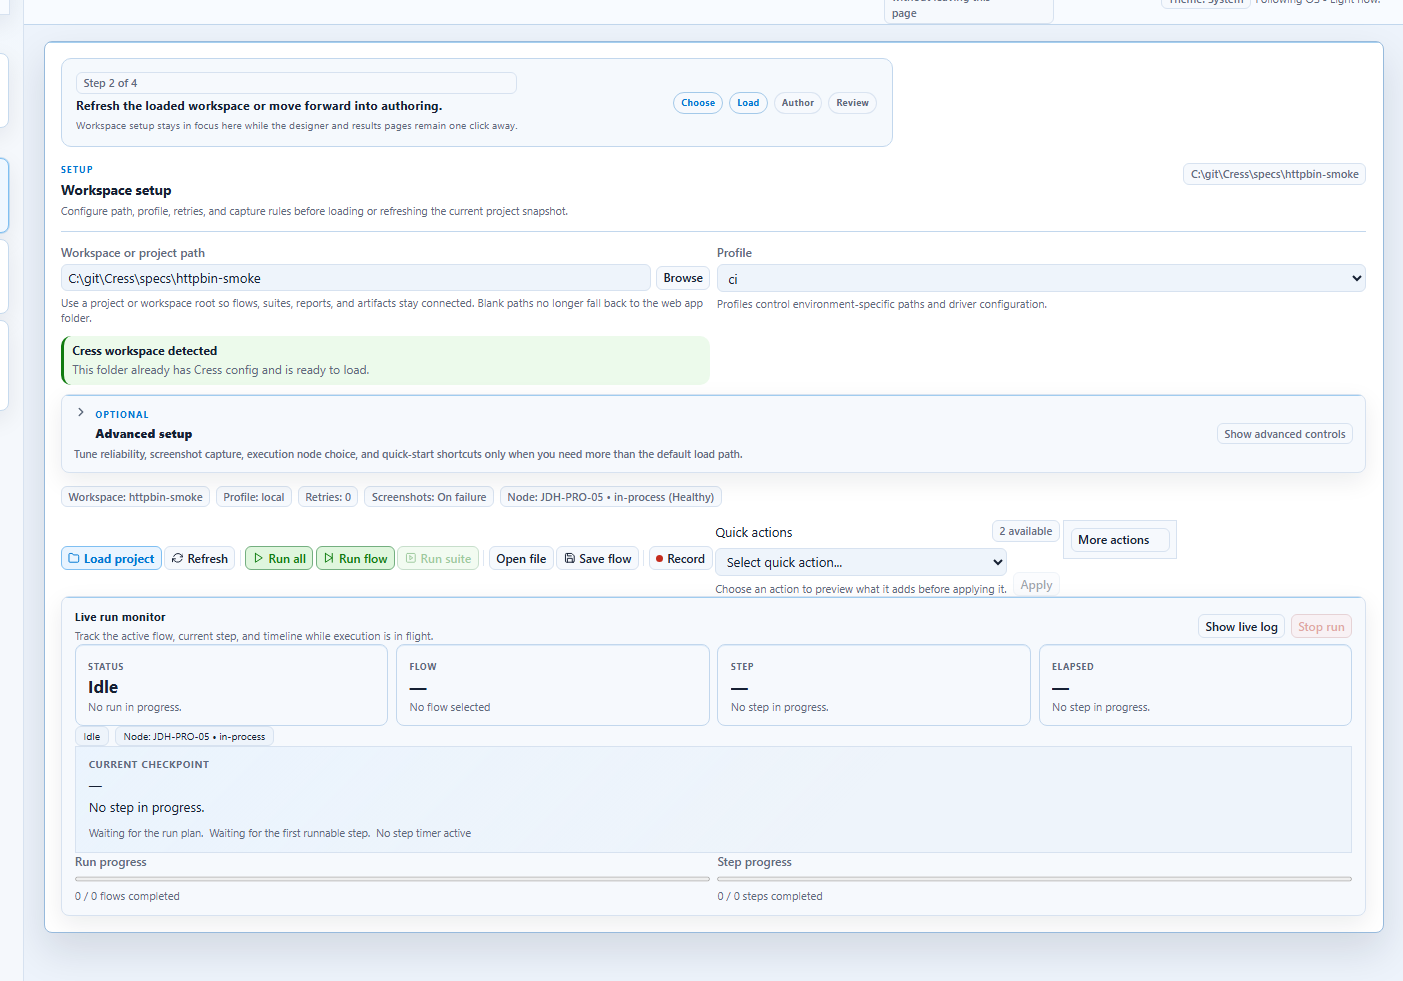
4. Launch the authoring environment
dotnet run --project src\Cress.AppHost\Cress.AppHost.csproj --configuration Release --launch-profile http
The AppHost orchestrates the Studio desktop app and Studio Web so you can use the same workspace while authoring.
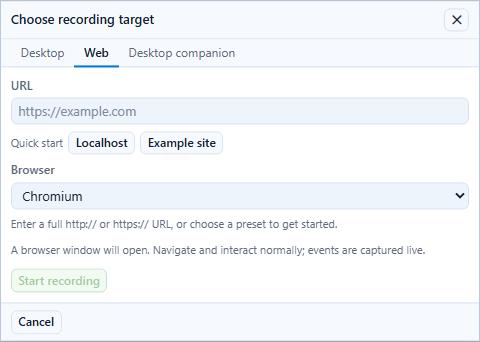
5. Walk through the browser recording flow
- Open the project in Studio or Studio Web.
- Start recording and choose the browser target from the recording picker.
- Perform the user journey in the browser.
- Save the generated flow, then switch to Source to normalize it.
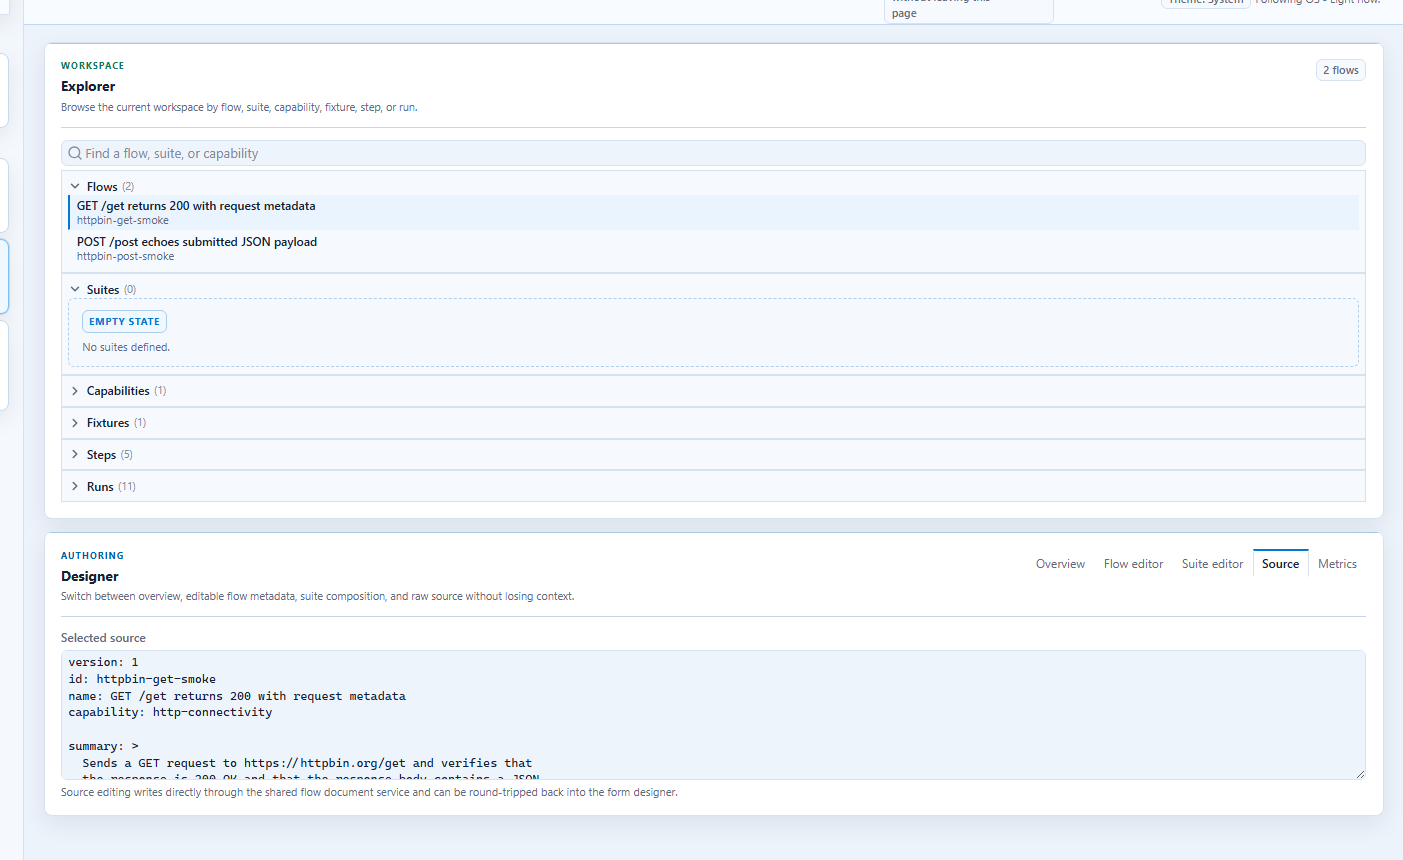
6. Normalize the YAML before committing it
Prefer these locator strategies in order:
testIdrole+labelroletextcssSelectororxpathonly as a last resort
Also add:
- a stable flow ID and business-facing name
- capability links
- tags for pipeline selection
- profile-driven values instead of environment-specific literals
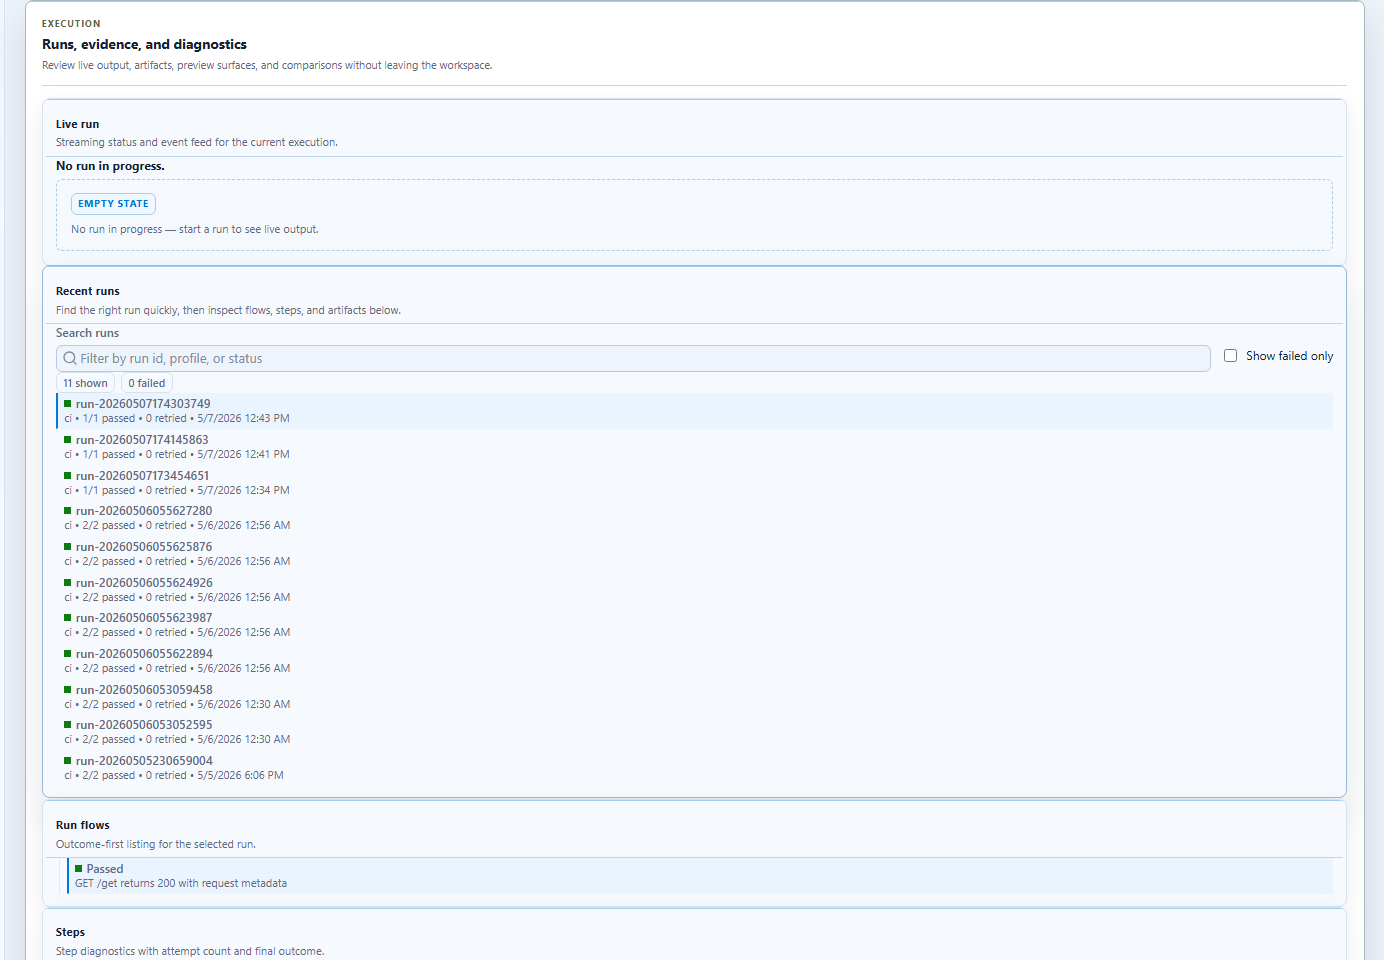
7. Validate and run
dotnet run --project src\Cress.Cli\Cress.Cli.csproj -- validate demos\web-shop
dotnet run --project src\Cress.Cli\Cress.Cli.csproj -- run demos\web-shop --profile local --report html,json
Use the results panel to inspect evidence:
8. Promote the flow into CI
Before moving to CI:
- create a
ciprofile with stable URLs and secrets strategy - make sure the flow can pass without interactive setup
- publish the generated reports and screenshots as pipeline artifacts
The running and debugging guide and Docs and CI pages show the next layer of commands and workflow automation.