Framework demos and development-cycle integration
This page shows how teams can use Cress-authored flows in xUnit, NUnit, and MSTest projects and then carry those flows through the normal engineering loop from authoring to pull request validation to CI evidence review.
Demo matrix
| Demo | Cress project | Framework | Why it is useful |
|---|---|---|---|
| Service smoke | specs\httpbin-smoke |
xUnit | fast API coverage that fits naturally into a service team's existing test suite |
| Desktop smoke | specs\calc-smoke |
NUnit | good for Windows desktop teams already using NUnit-based UI or integration suites |
| CLI smoke | demos\cmd-smoke |
MSTest | good for internal tooling, installers, release helpers, and admin utilities; create this demo project from the CLI walkthrough first |
| Web smoke | specs\web-smoke |
xUnit or NUnit | good for portals that need browser coverage alongside service or component tests |
Demo 1: service smoke in xUnit
Use the built-in HTTP sample as a lightweight API test that product engineers can run with the rest of their suite.
Export command
dotnet run --project src\Cress.Cli\Cress.Cli.csproj -- export xunit specs\httpbin-smoke --flow httpbin-get-smoke --namespace Contoso.Api.Tests.Cress --output tests\Contoso.Api.Tests\Generated\HttpbinSmokeTests.cs --profile ci
What engineers commit
- the Cress flow and manifests
- the generated
HttpbinSmokeTests.cs - the host xUnit test project
What the local loop looks like
dotnet run --project src\Cress.Cli\Cress.Cli.csproj -- validate specs\httpbin-smoke
dotnet test tests\Contoso.Api.Tests\Contoso.Api.Tests.csproj --filter FullyQualifiedName~Httpbin
Why this works well
- Cress owns the scenario modeling and evidence
- xUnit owns discovery, filtering, and suite composition
- the team gets one normal
dotnet testentry point
Demo 2: desktop smoke in NUnit
Use Calculator first, then swap in the real desktop application once the automation environment is stable.
Export command
dotnet run --project src\Cress.Cli\Cress.Cli.csproj -- export nunit specs\calc-smoke --flow calc.add-two-plus-two --namespace Contoso.Desktop.Tests.Cress --output tests\Contoso.Desktop.Tests\Generated\CalculatorSmokeTests.cs --profile local
Where it fits in the suite
This pattern works well when a desktop repository already has:
- classic NUnit integration tests
- hand-authored UI automation
- nightly desktop smoke jobs on Windows agents
The Cress-generated test becomes one more NUnit-discovered test case, but the flow itself stays editable in Studio and YAML.
Local execution
dotnet run --project src\Cress.Cli\Cress.Cli.csproj -- validate specs\calc-smoke
dotnet test tests\Contoso.Desktop.Tests\Contoso.Desktop.Tests.csproj --filter FullyQualifiedName~Calculator
Demo 3: CLI smoke in MSTest
This is a clean way to add Cress-modeled command-line flows to existing tooling or release-validation projects.
Use the demos\cmd-smoke project from the Testing CLI apps walkthrough, or point the command at your own CLI-focused Cress project.
Export command
dotnet run --project src\Cress.Cli\Cress.Cli.csproj -- export mstest demos\cmd-smoke --flow cmd.echo --namespace Contoso.Tools.Tests.Cress --class-name CmdSmokeTests --output tests\Contoso.Tools.Tests\Generated\CmdSmokeTests.cs --profile ci
Good use cases
- check that a release helper returns the right summary
- validate that a scaffolding CLI created the expected files
- smoke-test an installer or bootstrap command on CI images
Demo 4: web smoke in a mixed test suite
A common pattern is to keep component and API tests in the same test project family as one or two Cress-generated browser smokes.
Export command
dotnet run --project src\Cress.Cli\Cress.Cli.csproj -- export xunit specs\web-smoke --flow web-smoke.example-login-and-search --namespace Contoso.Web.Tests.Cress --output tests\Contoso.Web.Tests\Generated\PortalSmokeTests.cs --profile ci
Why teams choose this
- Studio helps non-developers capture the first version of the flow
- developers refine the locators and profiles in source control
- the exported test runs in the same suite as the rest of the web stack's tests
Development-cycle integration
The strongest adoption pattern is to treat Cress as the flow authoring and execution engine while letting the host test framework remain the team's operational entry point.
1. Author
Designers, QA, or SDETs:
- record the flow in Studio or Studio Web
- normalize the source
- validate the project with
cress validate - run the flow directly with
cress runwhile iterating
2. Export
Engineers:
- choose the destination framework
- export the flow into the product test project
- review the generated file in the same pull request as the flow change
3. Run locally
The inner loop usually becomes:
dotnet run --project src\Cress.Cli\Cress.Cli.csproj -- validate <cress-project>
dotnet run --project src\Cress.Cli\Cress.Cli.csproj -- export xunit <cress-project> --flow <flow-id> --output <test-project>\Generated\<FlowName>.cs --profile local
dotnet test <test-project>
4. Gate pull requests
A typical pull-request policy is:
- validate the Cress project
- run the host framework test suite
- publish framework test results
- upload Cress HTML, JSON, screenshots, and trace artifacts when failures happen
5. Run broader suites on main
Keep PR coverage small and deterministic, then run deeper tags or environment profiles after merge:
- PR: smoke flows only
- nightly: smoke + regression
- release branch: production-like profile with artifact retention
Example GitHub Actions shape
name: product-tests

on:
  pull_request:
  push:
    branches: [main]

jobs:
  test:
    runs-on: windows-latest

    steps:
      - uses: actions/checkout@v4

      - uses: actions/setup-dotnet@v4
        with:
          dotnet-version: 10.0.x

      - name: Restore
        run: dotnet restore Cress.sln

      - name: Validate Cress project
        run: dotnet run --project src\Cress.Cli\Cress.Cli.csproj --configuration Release -- validate specs\httpbin-smoke

      - name: Export generated test
        run: dotnet run --project src\Cress.Cli\Cress.Cli.csproj --configuration Release -- export xunit specs\httpbin-smoke --flow httpbin-get-smoke --output tests\Contoso.Api.Tests\Generated\HttpbinSmokeTests.cs --profile ci

      - name: Run .NET tests
        run: dotnet test tests\Contoso.Api.Tests\Contoso.Api.Tests.csproj --configuration Release --logger trx

      - name: Upload test results
        if: always()
        uses: actions/upload-artifact@v4
        with:
          name: contoso-api-test-results
          path: |
            **\TestResults\**
            **\artifacts\**
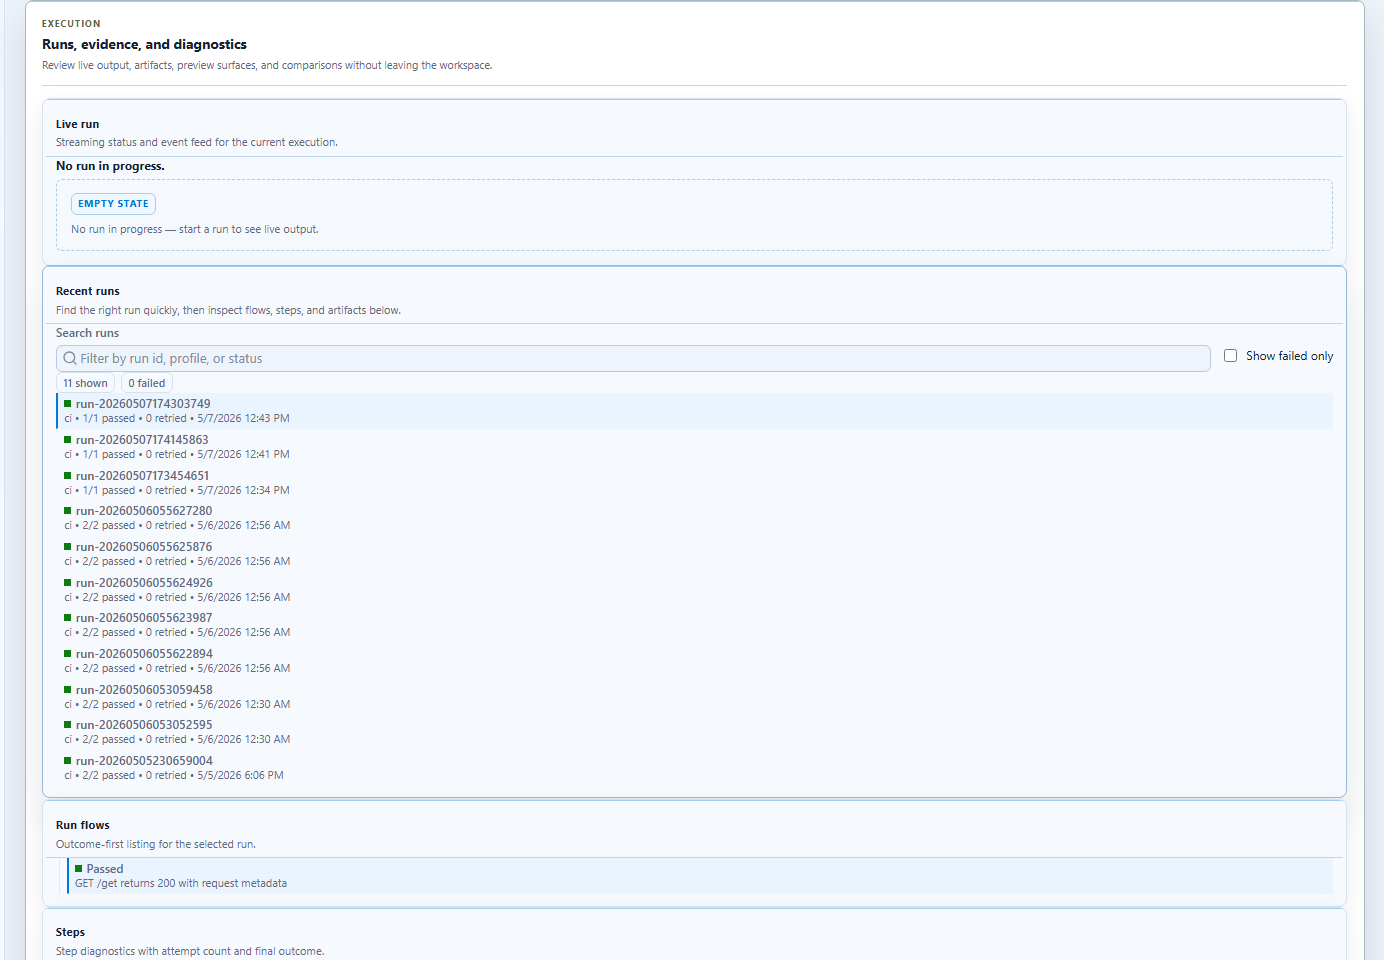
When the run fails, the same evidence can be reviewed in the GUI-oriented results surface during local reproduction.
Recommended ownership model
Use this split when multiple roles collaborate on the same scenarios:
| Role | Primary responsibility |
|---|---|
| Designer / QA / SDET | capture and refine the flow in Studio and YAML |
| Feature engineer | integrate the exported file into the product test project |
| CI owner | choose profiles, agents, retention, and artifact publishing |
| Reviewer | verify the business scenario and generated test still match |
What to keep in source control
Usually commit:
- the Cress project
- the generated test file if your team reviews generated output
- test project references and framework packages
- CI workflow updates
Usually do not commit:
- screenshots
- HTML reports
- transient export artifacts outside the chosen generated-test folder
Practical adoption advice
- start with one smoke flow per surface, not a huge migration
- prove the workflow locally with
dotnet test - add CI artifact publishing before scaling the suite
- move to direct
--outputinto the product test project once the ownership model is stable